Contact : +917506372004


Cubase has a user-friendly interface that allows you to quickly access all the tools you need to create and edit your music. The interface is designed to be intuitive and customizable, so you can set it up to work the way you want.
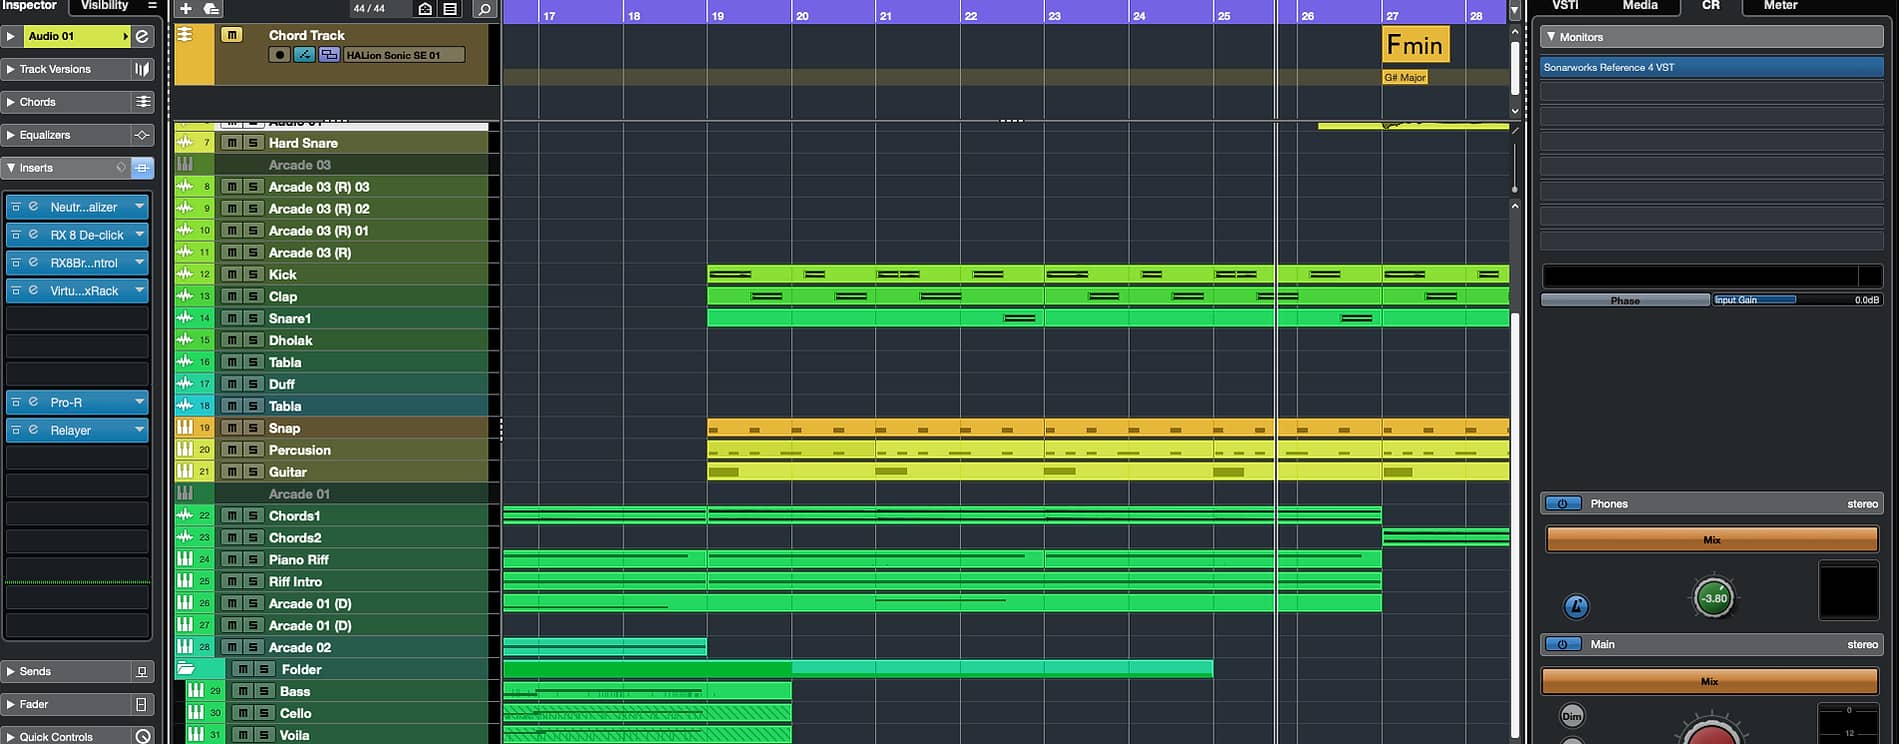
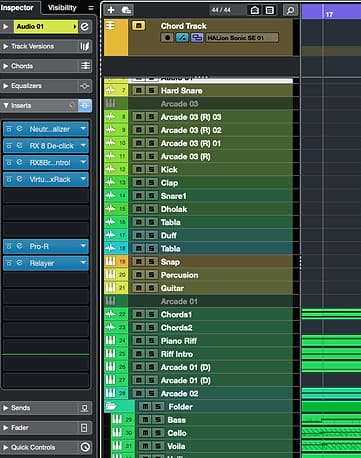
The main project window is the heart of the Cubase interface. Here, you can create new projects or open existing ones, and access all the tools you need to record, edit, and mix your music. The project window is divided into different panels, each of which serves a specific purpose.
Cubase is the most advanced DAW ever. With millions of functions, advanced plugins and a fabulous mixer. Cubase rocks with unbelievable controls. Handling MIDI is the most advanced tool in Cubase with Chord Track and expression. While mixing is so handy with so many controls and features. Cubase has endless possibilities in music productions.
we have so many Cubase students all over the world at beginner and intermediate levels. We understand what has to be learned to achieve professionalisation in Cubase for production and recording work. And after the experience of years, we have designed a course with the core and hidden tools of Cubase.
Cubase offers a variety of ways to manipulate MIDI data, such as simple editing from the Arrange window, intricate editing from the Piano Roll, and the List View. Working with the Score View also involves creating and editing MIDI data; next month, we’ll go into more detail about Cubase’s Score features. Therefore, users of Cubase can modify 127 notes and 127 levels of controller data in a plethora of different ways.

One of the key features of Cubase’s audio editing capabilities is its ability to slice and manipulate audio clips. This allows you to take a single recorded sound and chop it up into smaller pieces, which you can then rearrange, stretch, or pitch-shift to create new sounds and rhythms. Cubase’s audio warp feature lets you manipulate the timing and tempo of your audio clips, making it easy to match the timing of your tracks or to create new syncopated rhythms.

Mixing in Cubase involves balancing levels, applying EQ, compression and effects, panning tracks, and automating the mix. The goal is to create a cohesive and well-defined final mix that sounds good on all playback systems. It takes time, practice, and trust in your ears to master the process. Comparing your mix with a professionally mixed song can help achieve the desired result.

Applying mastering-type processing during mixdown over the main left-right bus may be the most straightforward method of mastering using Cubase. You may also apply such processing to submixes for a stem mastering method.

Sameer Daate Sir is very experienced music singer and composer. who has worked from last three decade in Indian film industry and now for upgrading his skill for music production he is being continue with his Music Production Course in mumbai.
Surjeet Marwa is the professional DJ Based in Australia.who performed all over the world and to enhance his performing skill, he took the online and offline advance training program for Ableton Live.
Adya is a very good musician based in the UK and came to beatpro to learn the advance program for ableton.
Sandeep is the popular youtuber who achieved above 1 million subscribers through his guitar performing and teaching methods. Sandeep has done course Music Production for FL studio to make pro sound for his youtube work. https://www.youtube.com/channel/UC0h1SjZLR_D6KV3czLHN7Ew
Bali has been a professional guitar tutor and performer since 2005 based in mumbai. He has done the course for Push2 and ableton.
http://beatpro.in/ Online music production courses in mumbai. BeatPro the best music production academy in mumbai. BeatPro is having students for music production courses through out the India. People are coming to learn Music production to BeatPro. check out the link above to know more about music production courses and BeatPro.
For further information, kindly visit our academy: https://beatpro.in or https://onlinebeatpro.com
Contact No: 07506372004
Address: G-1, Evershine Apartments 2, Ground Floor, Plot No.142 A/B, 7 Bungalows, Andheri West, 400053, Maharashtra, India
Online music production courses l Music programming training l Music Programming courses l Online music programming courses in mumbai l Online music production courses in India l Online music training courses in Pune l Online music production training cources in Goa l Music programming courses in Delhi l How to learn Logic Pro l
http://beatpro.in/
Learn Music Programming in Mumbai_ Fruity Loops And Logic Pro X Courses. BeatPro Ville Parle (w)
Contact No. +91-7506372004
Learn online Logic Pro X and Fruity Loop Studio from BeatPro. We are offering you online Music Programming courses as well as Music Production Services. First time in Mumbai Beatpro is providing all Music Production Services online, BeatPro is a complete technology school for Music Production. Our Music Producers will provide you all you need for your songs music production. Take a step ahead to BeatPro for best result for your best creativity.
http://beatpro.in/ Online music production courses in mumbai. BeatPro the best music production academy in mumbai. BeatPro is having students for music production courses through out the India. People are coming to learn Music production to BeatPro. check out the link above to know more about music production courses and BeatPro.
For further information, kindly visit our academy: https://beatpro.in or https://onlinebeatpro.com
Contact No: 07506372004
Address: G-1, Evershine Apartments 2, Ground Floor, Plot No.142 A/B, 7 Bungalows, Andheri West, 400053, Maharashtra, India
Music Production Institute in Mumbai for EDM, Bollywood And Sound Designing.Classes would be taken in Mumbai. for more details please visit our website www.beatpro.in
Abhijit Pohankar is a famous face of Indian Modern Music , a keyboardist, an instrumentalist , a singer , a music producer who is best known for playing classical ragas on keyboard and has created an unique fusion of modern music with classical music. Abhijit Pohankar was born to famous classical vocalist Pandit Ajay Pohankar in the year 29th June 1975. From childhood, music became an integral part of his life and with all his hard work he has established a new name in the music industry with his own classical genre. https://www.youtube.com/user/pohankar